A photo can look sharper and still look wrong. Fine textures may become too smooth, edges may stand out too much, or details may change in ways you did not expect. Seeing a few versions of the same photo makes those differences easier to judge.
CNAPS Studio’s Compare Three Image Upscalers card runs PiSA-SR, CODSR, and FiDeSR on one image. You can inspect the results together without setting up separate workflows.
You get 3 free runs across all CNAPS Studio cards without an account. Sign in to download your results. A free plan is also available after signing up.
One photo, three upscalers
The sample shown here is a red macaw against a blurred green background. Its eye, curved beak, and overlapping feathers offer plenty of detail to compare. The original sits alongside the PiSA-SR, CODSR, and FiDeSR results, so you can look at the same features in all three enlarged versions.
Original
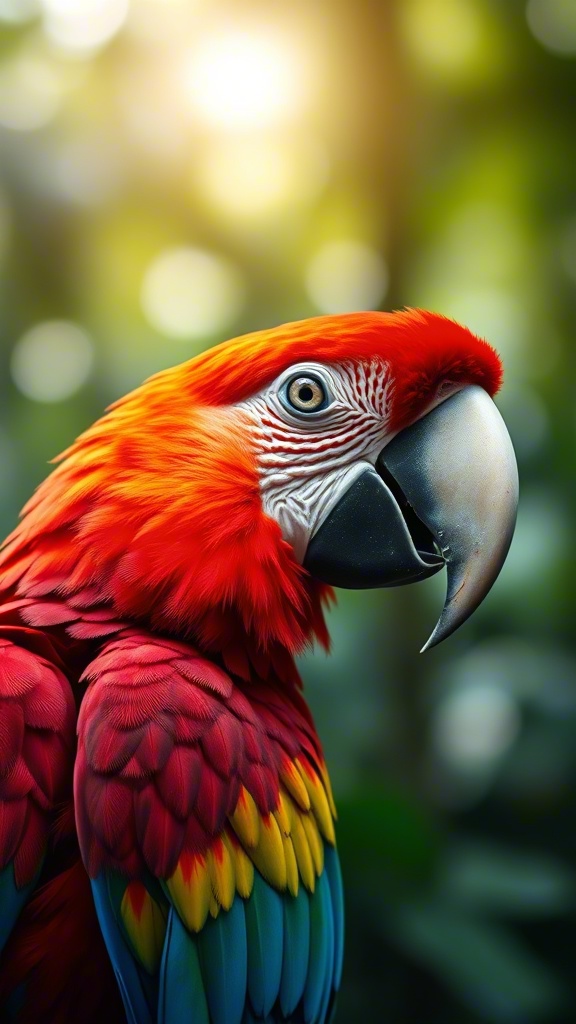
PiSA-SR
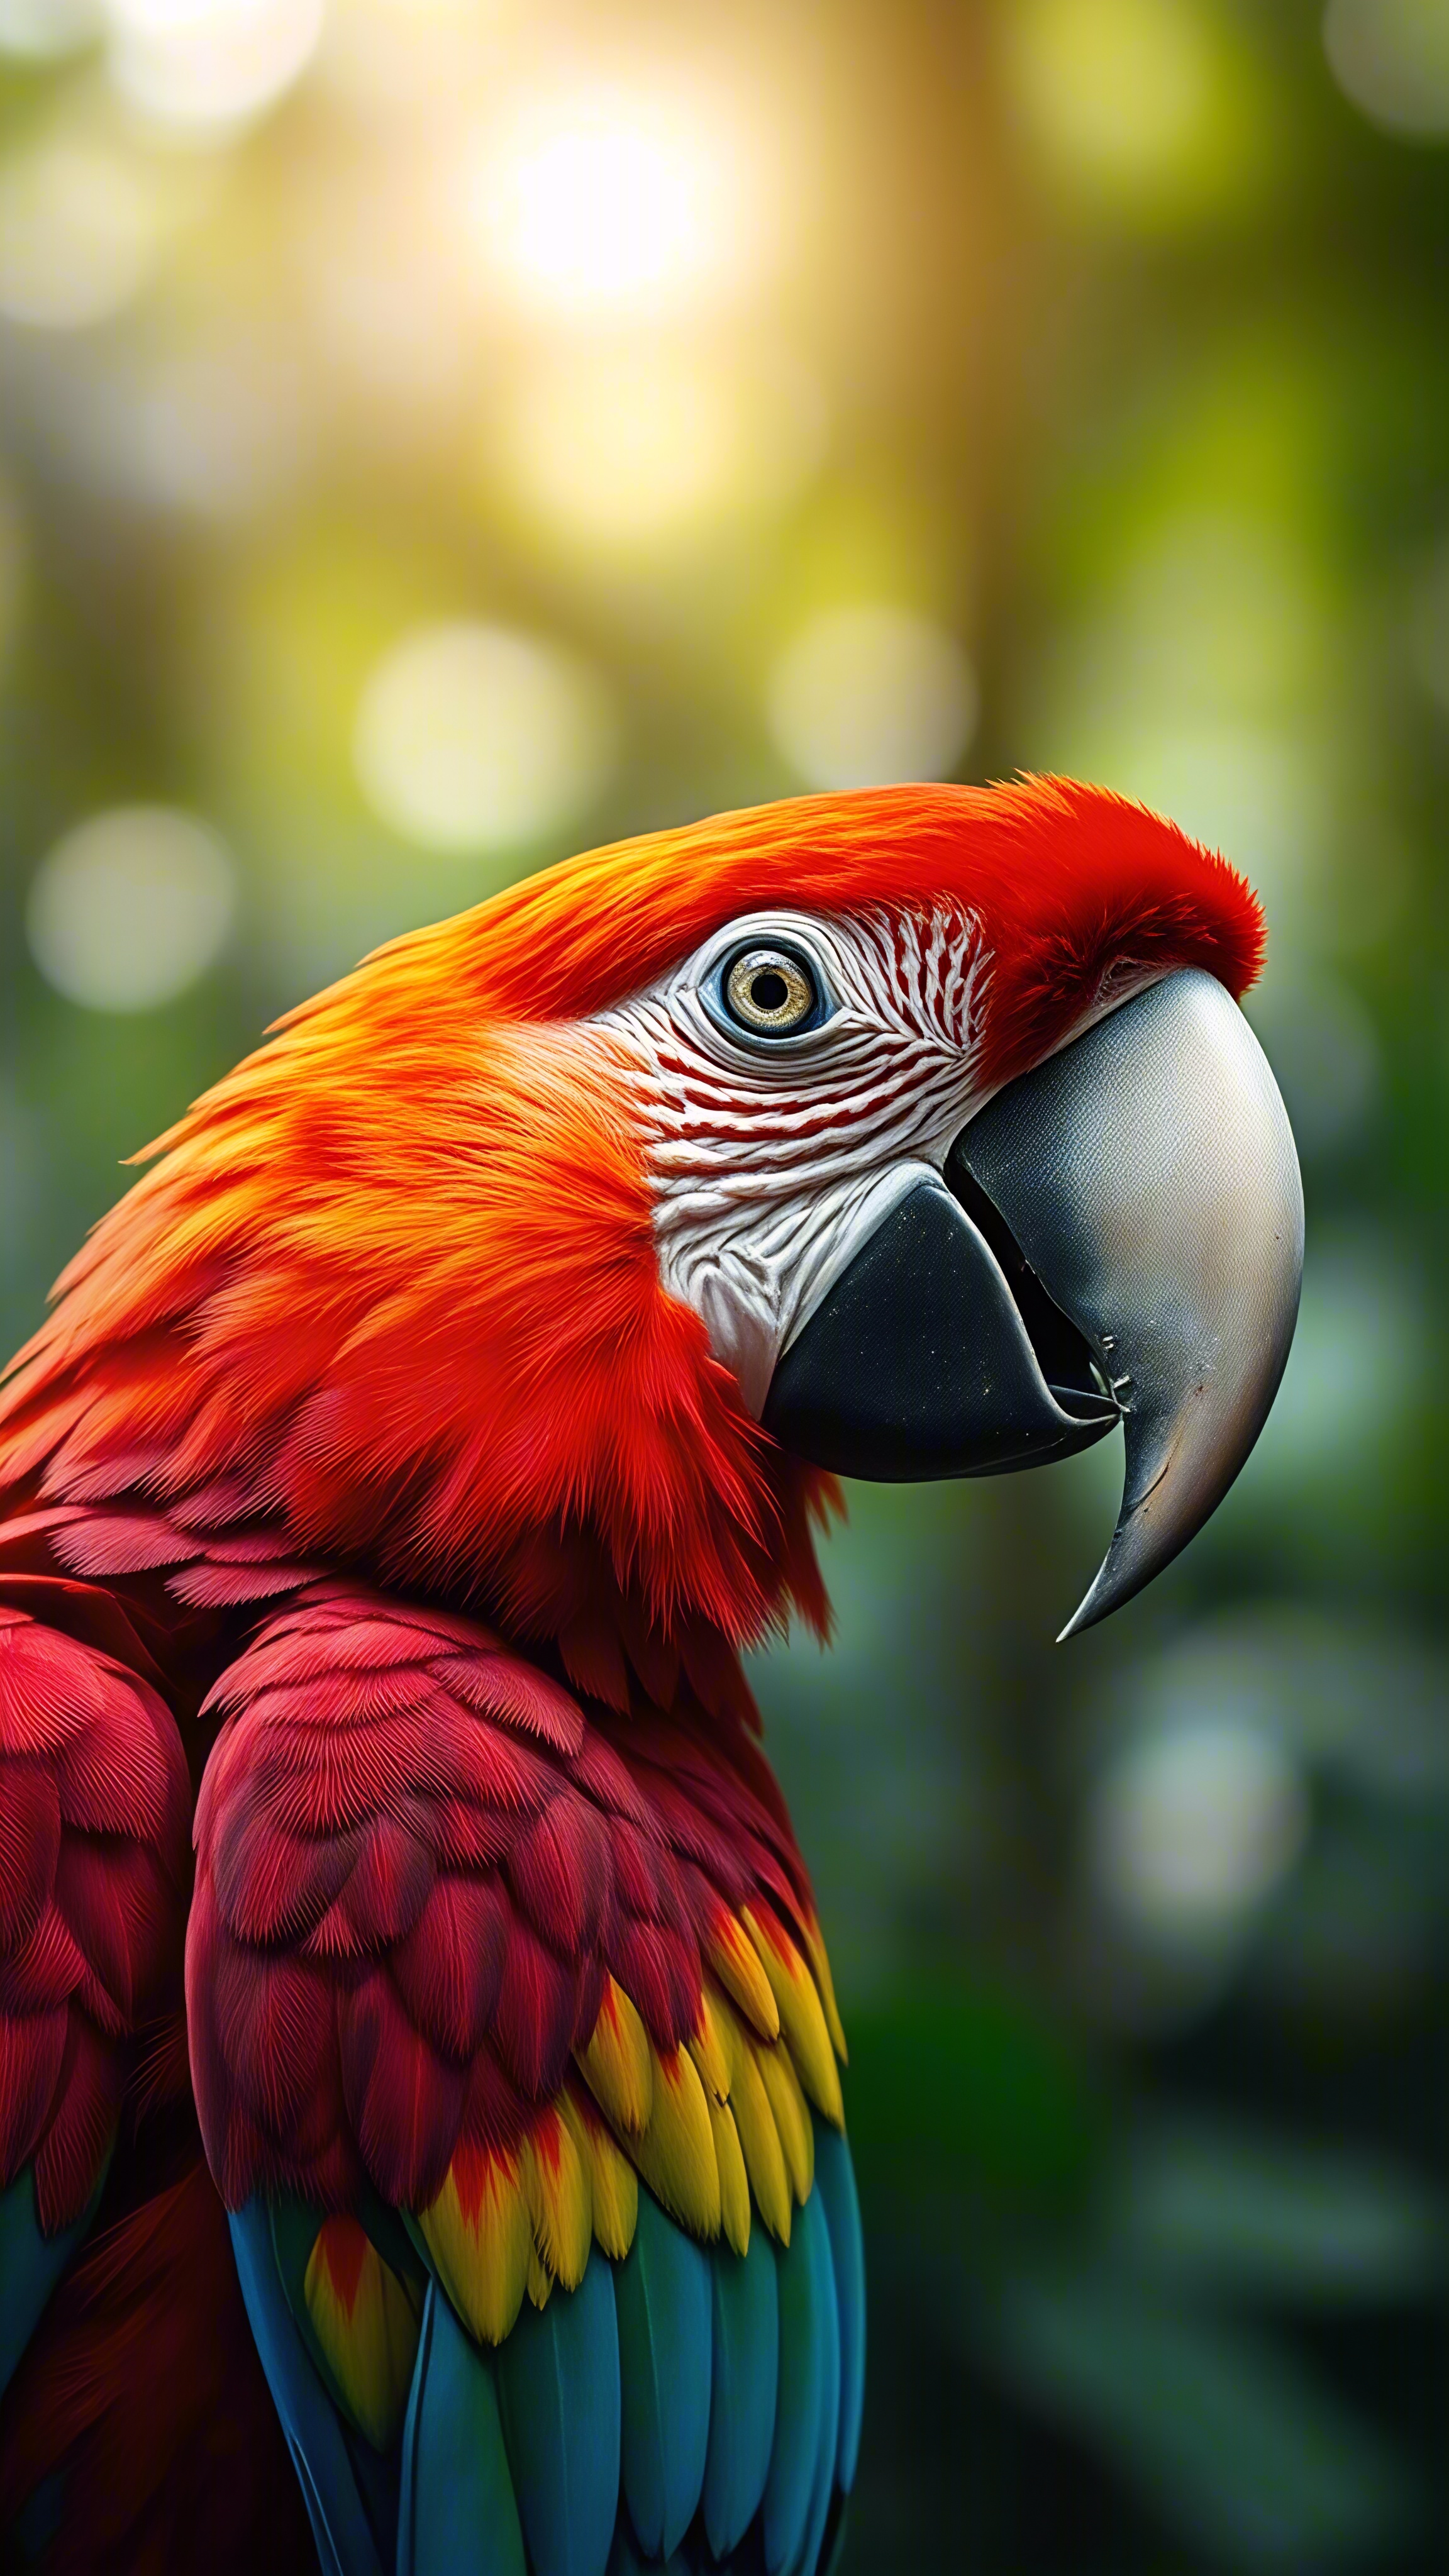
CODSR
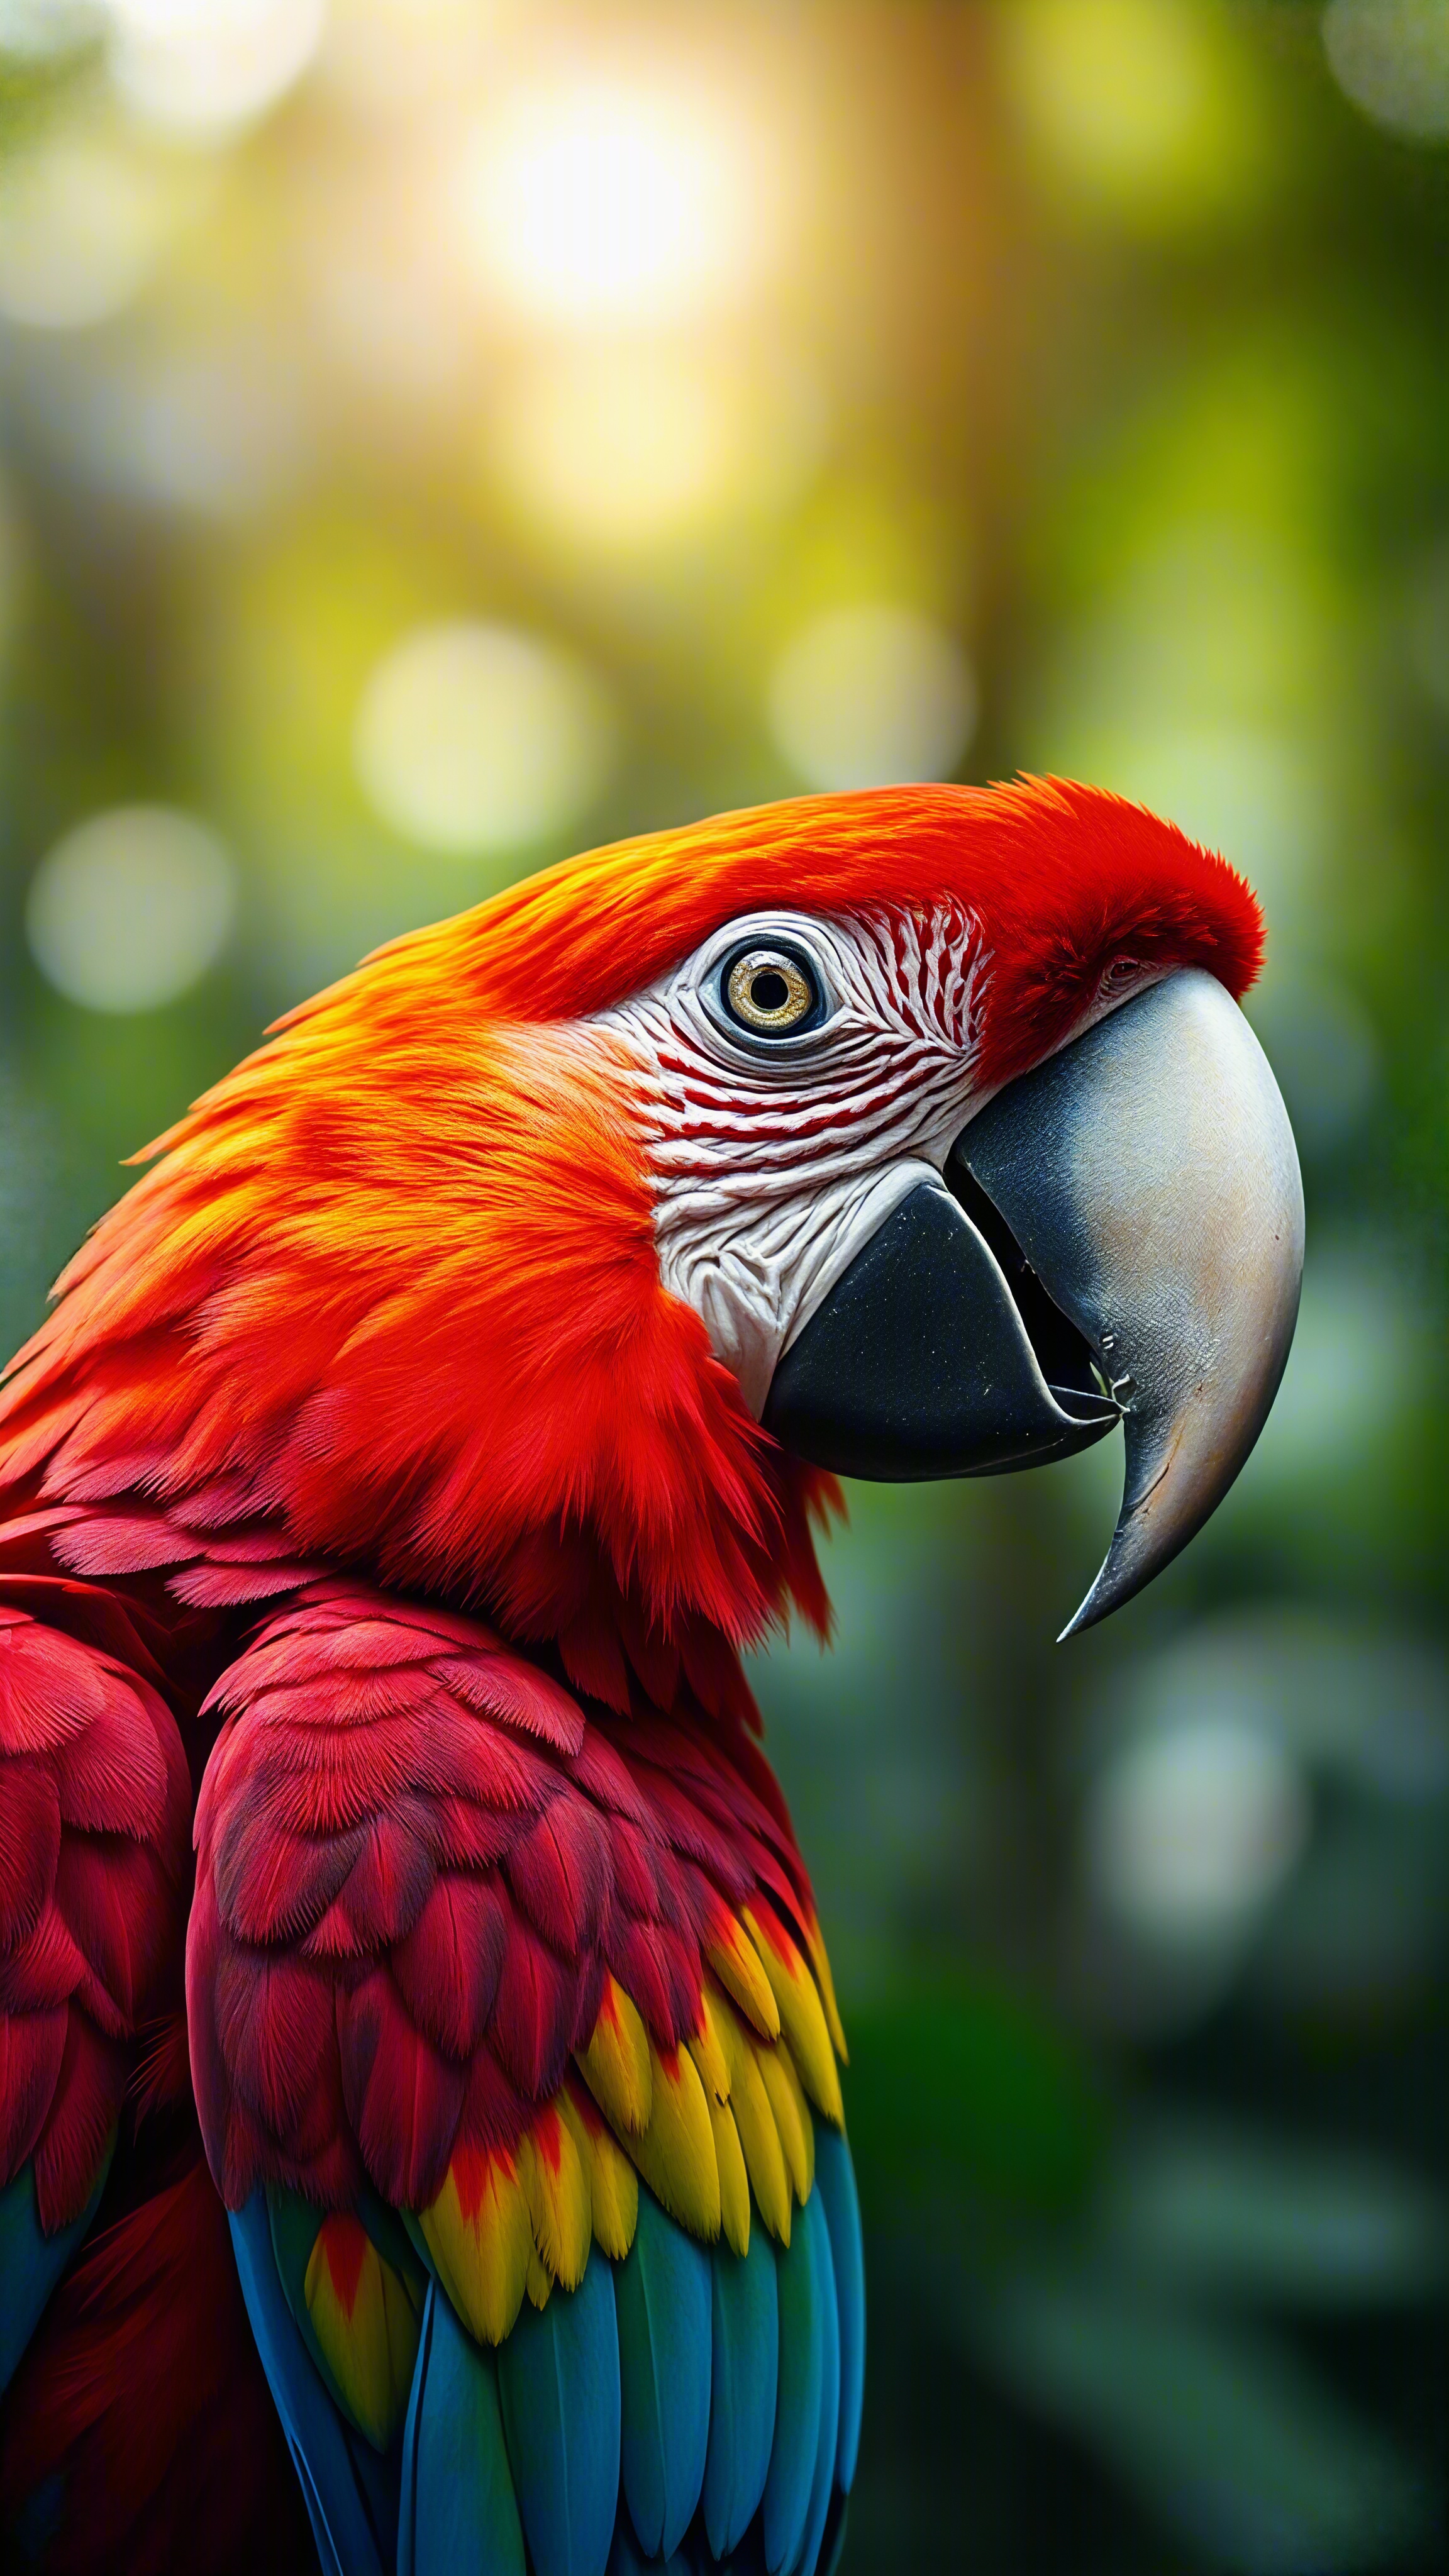
FiDeSR
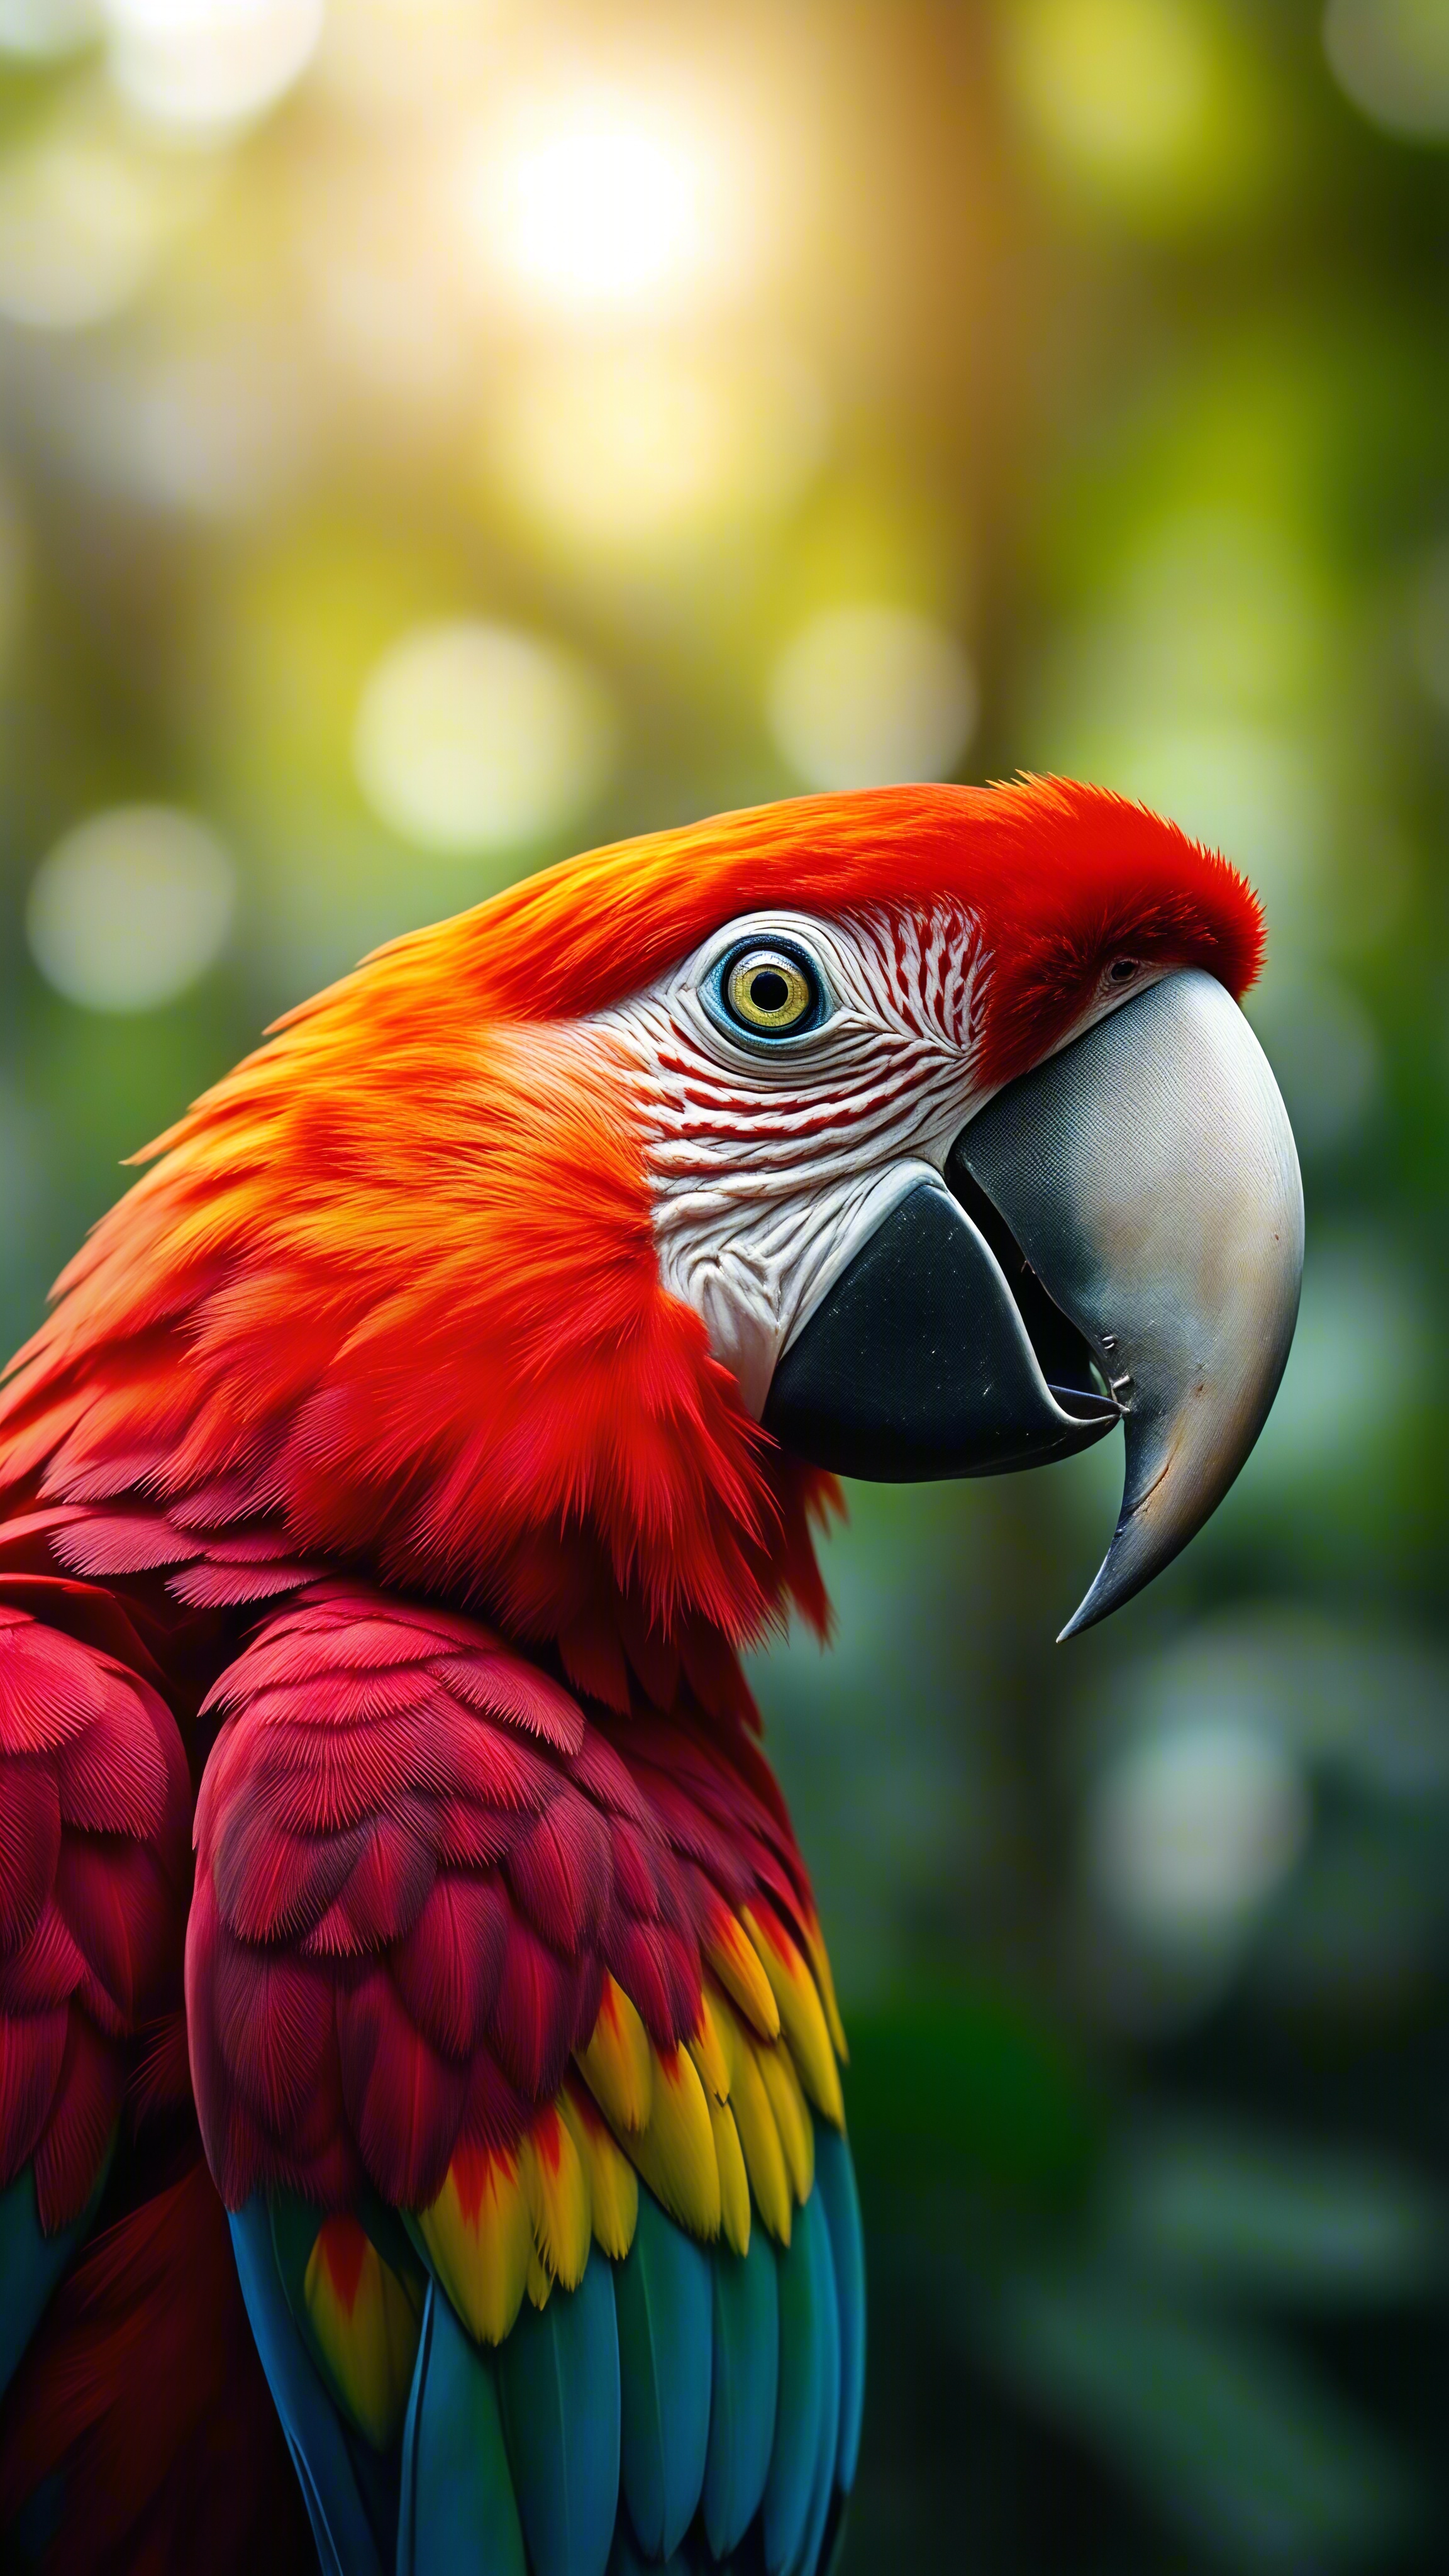
Card sample updated November 9, 2026. Original: 576 × 1024. Each result: 2304 × 4096. Select an image to open it at full size.
The original measures 576 × 1024 pixels. Each sample result measures 2304 × 4096 pixels, four times the original width and height. Since all three outputs have the same dimensions, the useful question is how each one handles the photo.
A closer look at the details
At the size shown above, the differences can be easy to miss. These close-ups show the same area around the macaw’s eye and cheek in all four images. Look at the fine feather strands, the markings beneath the eye, and the texture inside the iris.
More visible detail does not always mean a more faithful result. Compare each version with the original, then decide which appearance suits your photo.
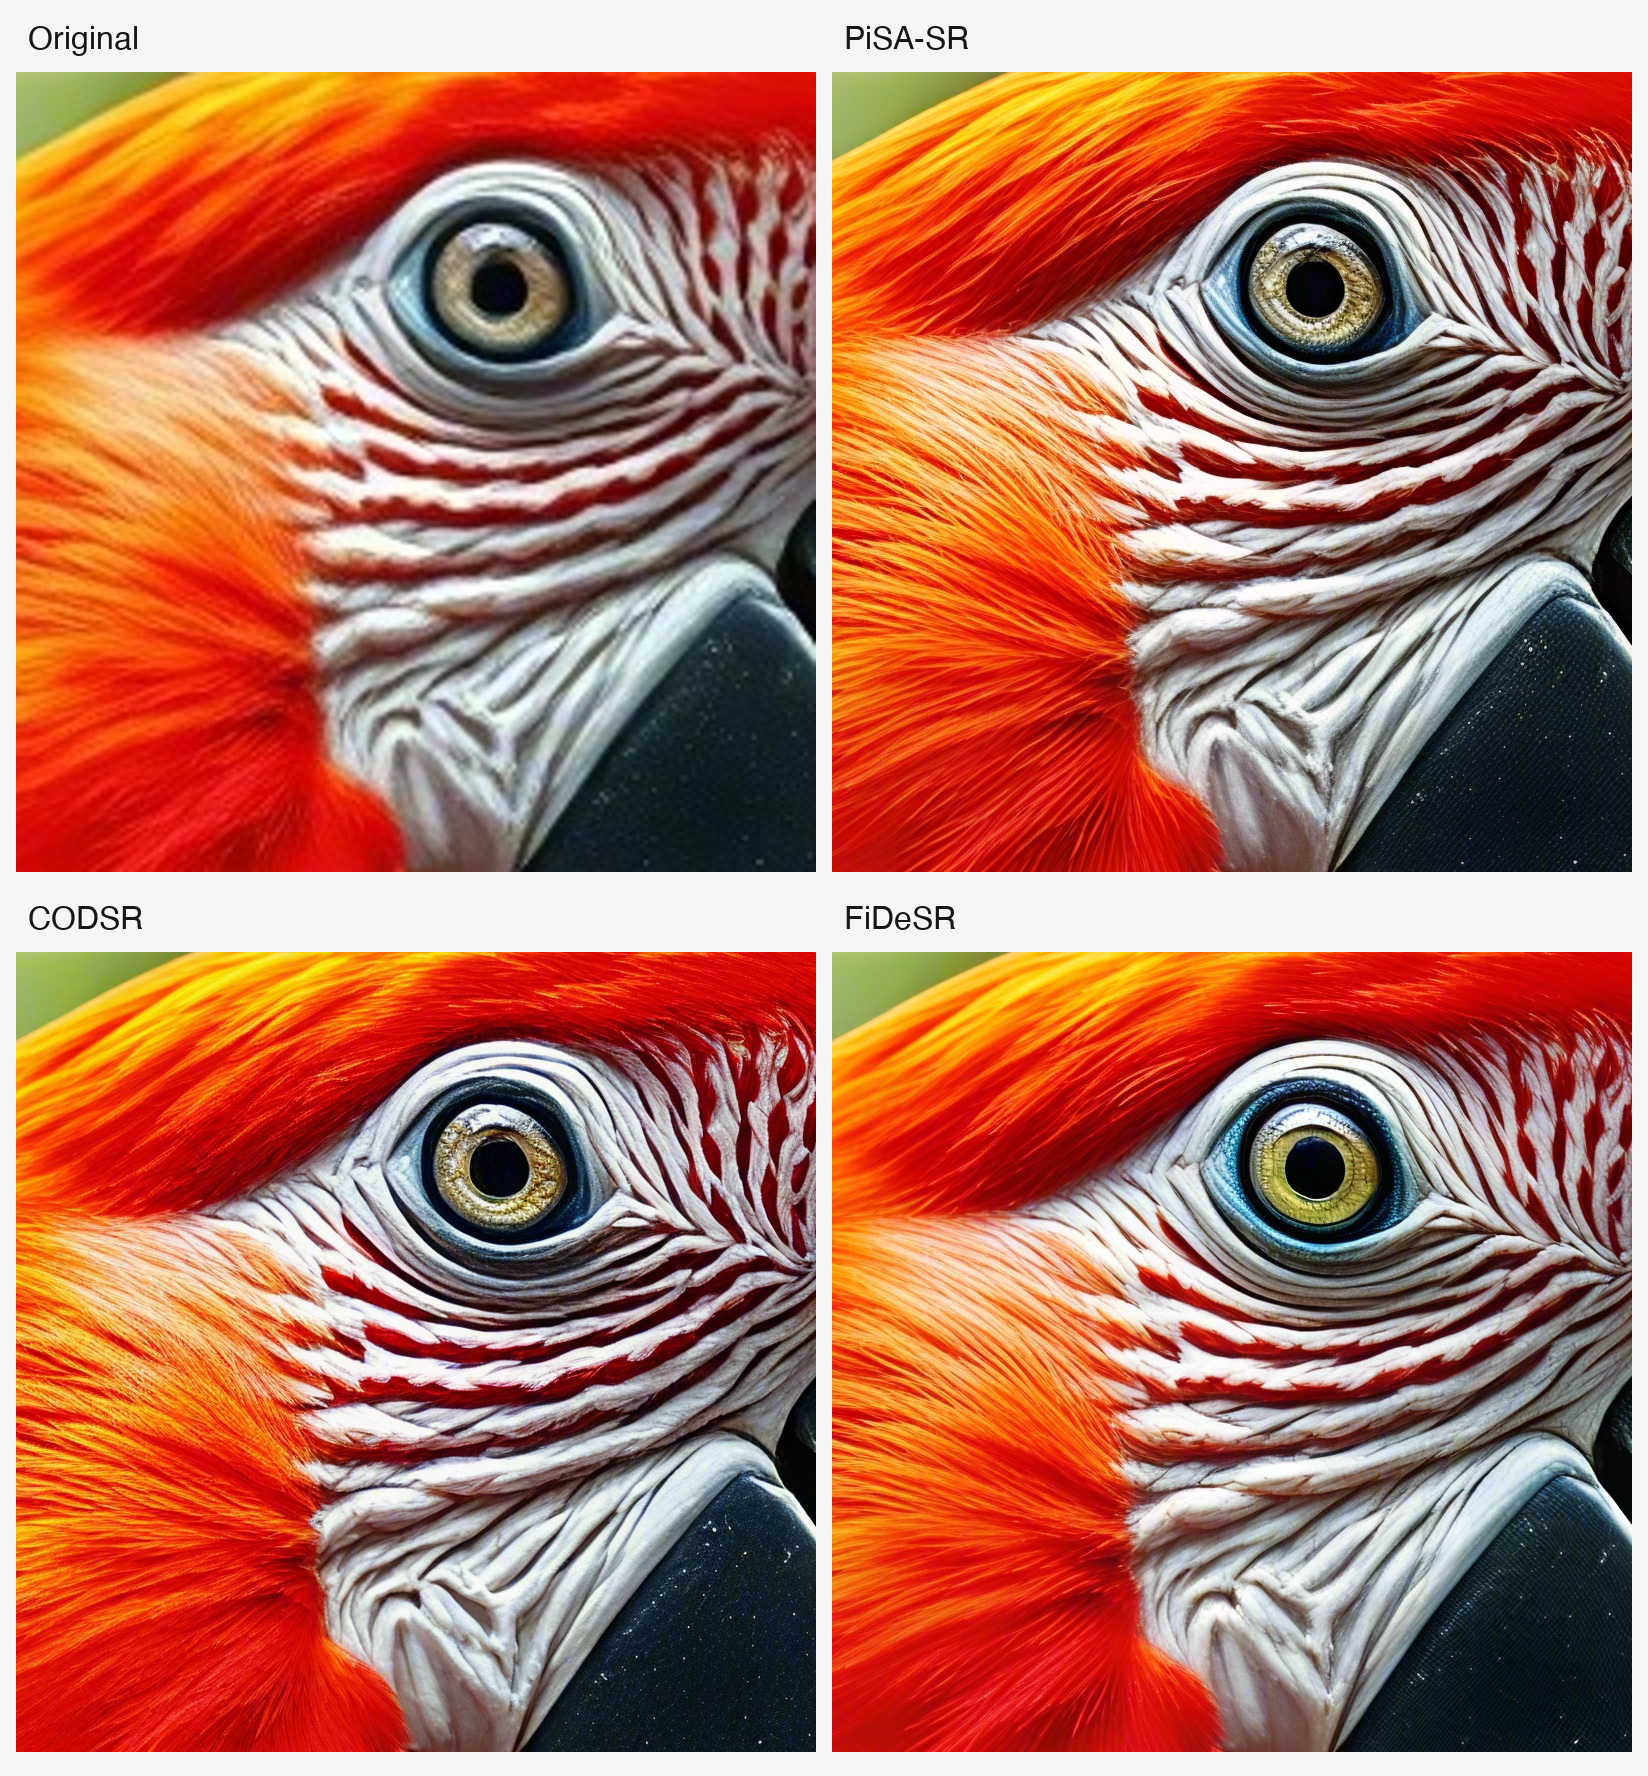
Enlarged crops comparing a macaw’s eye, cheek markings, and feathers in the original image and PiSA-SR, CODSR, and FiDeSR results.
Try PiSA-SR, CODSR, and FiDeSR on your own photo
- Open the comparison card. Go to Compare Three Image Upscalers.
- Look through the sample. The Detail controls magnify every column together. Use 1×, 2×, 4×, or 8× to inspect the images, or open a result at full size. These controls change the viewing magnification, not the output dimensions.
- Upload your photo. Click Use my image and choose a JPG, PNG, or WEBP. A small image with fine edges, fabric, hair, or other visible texture makes a useful starting point. You do not need to write a prompt.
- Run the comparison. Click Run. The card lists a typical processing time of 2–3 minutes. When it finishes, compare the original with all three results.
- Download your favorites. Sign in and download the results you want to keep.
How to choose a result
Check the details that matter to your photo. For a portrait, that might be the eyes and hair. For a product photo, it could be stitching, lettering, or the outline of the object. Compare the same area in each version.
Look for changes, not just sharpness. Watch for textures that look invented, lettering that has changed, or bright outlines around edges. A sharper-looking detail is not necessarily a faithful reconstruction of the original.
Judge the image at the size you will actually use. A difference that stands out at high magnification may barely register in a social post. Before choosing, return to your intended viewing size and look at the whole picture.
You do not need to pick one upscaler for every photo. Keep the version that works for the image in front of you.
